> ## Documentation Index
> Fetch the complete documentation index at: https://docs.isosceles.ai/llms.txt
> Use this file to discover all available pages before exploring further.
# API Authentication Guide
> Instructions on how to authenticate API requests using API keys
## Introduction
This guide provides detailed instructions on how to authenticate your requests using API keys for accessing our services.
## Obtaining API Keys
To get your API keys, navigate to the [API Key Settings Page](https://app.isosceles.ai/settings/api-key). API keys are organization-level credentials and can be used by any user within the organization. For enhanced security, logging and management, we recommend each user using their own `userId` for authentication.
### Steps to Obtain API Keys
Navigate to the API Key Settings Page.
Click on the clipboard icon to copy the API key.
You will receive your User ID and API Key separately, as well as a base64 encoded string that combines them.
## Using API Keys
There are two primary methods to use API keys for authentication:
### Method 1: Base64 Encoded String
The most straightforward method is to use the provided base64 encoded string. This string combines your User ID and API key.
#### Steps to Use Base64 Encoded String
1. Copy the base64 encoded string from the API Key Settings Page.
2. Add the following header to your HTTP request:
```http
Authorization: Basic
```
### Method 2: Separate User ID and API Key
Alternatively, you can use your User ID and API Key separately, especially useful for tools like Postman.
#### Steps to Use Separate User ID and API Key
1. Copy your User ID and API Key separately from the API Key Settings Page.
2. Use `userID` in `username` field and `apiKey` in `password` field
or
1. Copy your User ID and API Key separately from the API Key Settings Page.
2. Combine your User ID and API Key in the format `userID:apiKey`.
3. Encode this combined string in base64 format.
4. Add the following header to your HTTP request:
```http
Authorization: Basic
```
## Authentication in Our Documentation Site
When prompted for a username and password on our documentation site, use the following:
* **Username:** Your User ID
* **Password:** Your API Key
## Example
Let's say your User ID is `user123` and your API Key is `key456`. Here's how you can authenticate your requests:
### Using Base64 Encoded String
If the base64 encoded string for `user123:key456` is `dXNlcjEyMzprZXk0NTY=`, your HTTP header will be:
```http
Authorization: Basic dXNlcjEyMzprZXk0NTY=
```
### Using Separate User ID and API Key
1. Combine User ID and API Key: `user123:key456`
2. Encode the string: `dXNlcjEyMzprZXk0NTY=`
3. Your HTTP header will be:
```http
Authorization: Basic dXNlcjEyMzprZXk0NTY=
```
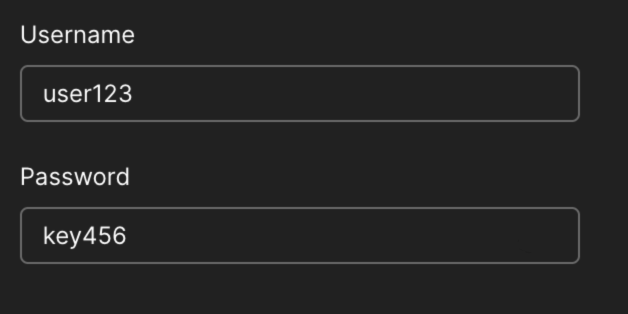
or
Use `user123` in `username` field and `key456` in `password` field
## Conclusion
By following the steps outlined in this guide, you can authenticate your API requests securely and efficiently. Whether using the base64 encoded string directly or combining your User ID and API Key manually, ensure your credentials are handled safely. For any further assistance, refer to our support documentation or contact our support team.